/pentest
/pentest
Overview
The /pentest command launches the pentest wizard, guiding you through configuring and starting an autonomous penetration test. Apex deploys a swarm of AI agents that collaboratively test your target for vulnerabilities.
Usage
With flags (skip the wizard):
Aliases: /p, /web, /w
How It Works
When you run /pentest, Apex presents a streamlined wizard that walks you through:
Target Configuration
Enter your session name and target URL. The session name is auto-generated but can be customized.
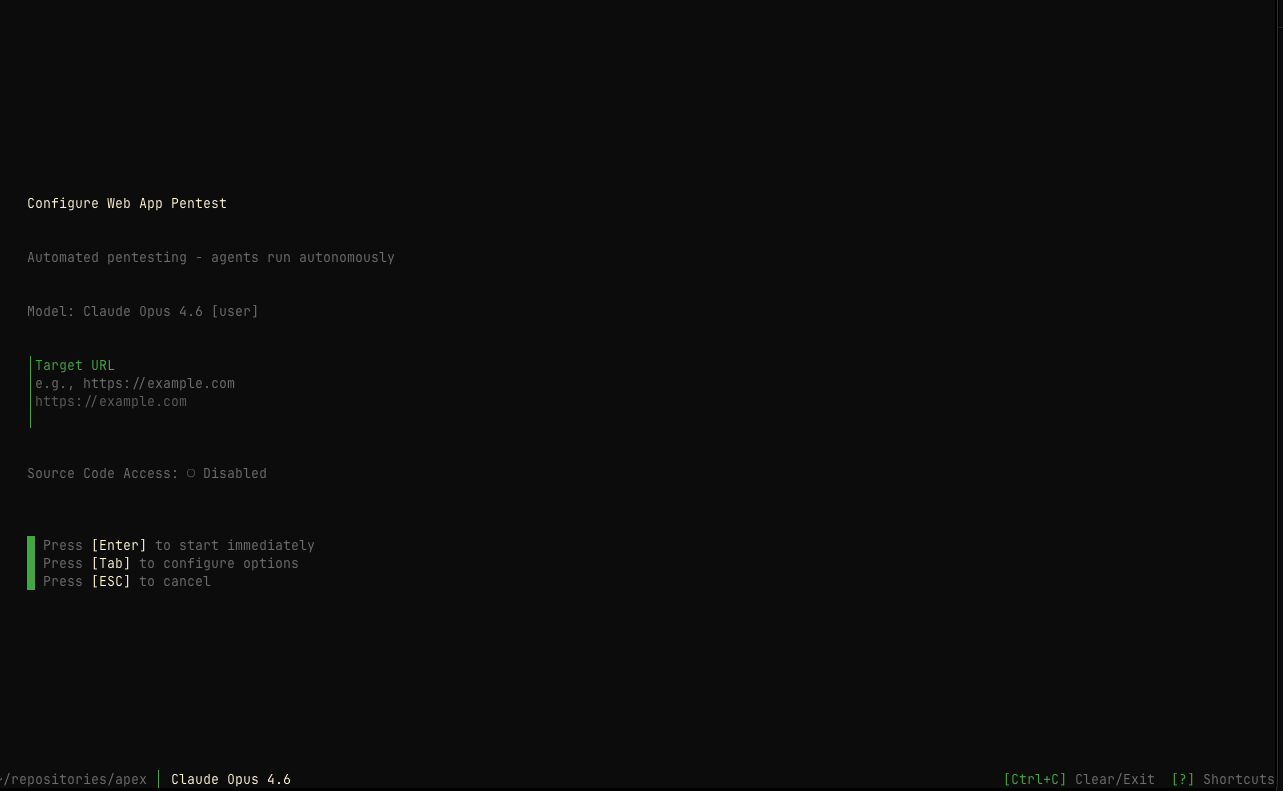
Target Step
The first step collects basic information:
Session Name
An auto-generated name like swift-falcon that identifies your session. Edit this if you prefer a custom name.
Target URL
The primary URL to test, e.g., https://example.com. This is required to start the test.
Quick Start: Enter your target URL and press [Enter] to begin testing
immediately with default settings.
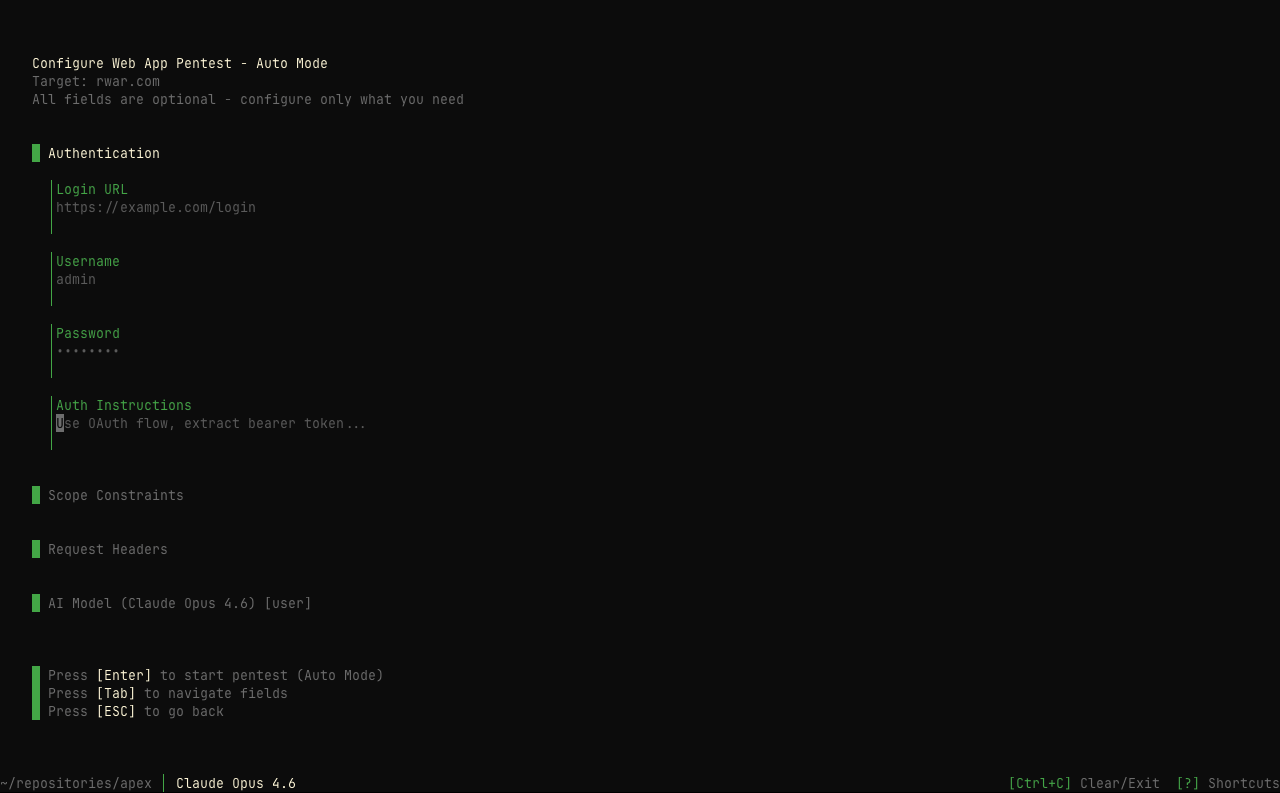
Optional Configuration
Press [Tab] from the target step to access advanced configuration options:
Authentication
Configure credentials for authenticated testing:
Login URL
The URL of the login page, e.g., https://example.com/login
Username & Password
Credentials for authenticating to the target application. These are used to test authenticated functionality.
Auth Instructions
Custom authentication instructions for complex login flows, e.g., “Use OAuth flow, extract bearer token…”
Scope Constraints
Define boundaries for the penetration test:
Specific hostnames the agent is allowed to test. Add multiple hosts by pressing Enter after each.
Specific ports to include in testing scope (e.g., 443, 8080).
Strict Scope: When enabled, the agent will only test explicitly allowed hosts and ports. Use ↑/↓ to toggle.
Request Headers
Configure how the agent identifies itself:
For custom headers, you can add multiple key-value pairs.
Command Flags
You can bypass the wizard entirely by passing flags:
Guiding the Pentest
You can provide guidance to the pentest agent using --prompt for general instructions or --threat-model to feed in a threat model document.
Both flags support inline text and @file references — prefix a file path with @ to read its contents:
When --threat-model is used, the content is automatically wrapped with guidance explaining how the agent should use it — prioritizing attack paths by severity, following pentest guidance sections, and verifying control gaps.
Keyboard Navigation
Example Workflow
Best Practices
Tips for Effective Testing: 1. Use descriptive session names to easily identify tests later 2. Configure authentication for testing protected endpoints 3. Define scope constraints to stay within authorized boundaries 4. Use custom headers if the target requires specific identification
Security Reminder: Only test systems you own or have explicit authorization to test. Unauthorized testing is illegal.
After Starting
Once you start a session:
- The AI agent swarm begins reconnaissance on your target
- Real-time progress is displayed in the terminal
- Vulnerabilities are reported as they’re discovered
- The session is automatically saved for later review via
/sessions
See Also: /operator
For more hands-on control, use /operator to start an interactive session where you guide the AI agent step by step. The operator mode supports plan, manual, and auto modes.